
Part One:

Switching to Standalone Mode
Press the FUNC key together with 2 on the keypad.

On the terminal
Enter the access code 0240 and hit ENTER. When the Terminal ID appears, hit ENTER.

Interface Type
Select NONE.

Interface Type
Press the CANCEL key to skip

Standalone Mode
Wait for your terminal to return back onto the home screen. It is now ready to use in Standalone Mode. Simply start entering the amount you would like to charge and press enter.
-png.png?width=222&height=444&name=BeyondPayments%20(2)-png.png)
Connect the terminal to 3G/4G if you are going outside the reach of your Wi-Fi:
Func > 6 > Auto > Enter
Part Two:
Switching back to Integrated
Set up the terminal to support whatever integration method you are using. Press the FUNC key together with 2 on the keypad.
On the terminal
Enter the access code 0240 and hit ENTER. When the Terminal ID appears, hit ENTER.
Interface Type
Select the type of integration you are wanting to choose. This should correspond with what is on your POS screen.
-png.png?width=222&height=444&name=BeyondPayments%20(3)-png.png)
Interface Type
Press the CANCEL key to skip
Integrated Mode
Wait for Integration Mode to complete.
Connect the terminal to the same Wi-Fi connection as the POS:
Menu > Terminal > Others > Manager Menu > Enter Terminal Password > Control Panel > Wi-Fi > Scan Networks > Setup Wi-Fi.
Part Three:
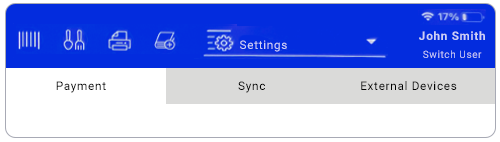
On the iPad
Click on Settings from the drop-down menu on the POS (top right corner of the screen) and ensure you are on the Ingenico POSGate Payment option
Connect to POSGate
Under Settings, update the IP address and port number and click CONNECT.
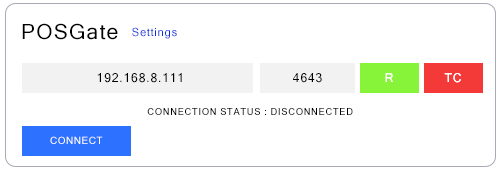
Terminal Connect Successful
Please wait while the terminal tries to connect. R (Ready) and TC (Terminal Connect) will turn green if successful.